Hey everyone, hope you’re having an amazing day today. Today, I’m gonna show you how to prepare a distinctive dish, mango ginger and garlic pickle. It is one of my favorites food recipes. This time, I’m gonna make it a bit unique. This is gonna smell and look delicious.
Mango Ginger and Garlic pickle is one of the most favored of recent trending meals on earth. It is enjoyed by millions daily. It’s simple, it is quick, it tastes yummy. Mango Ginger and Garlic pickle is something which I’ve loved my whole life. They’re fine and they look wonderful.
To begin with this recipe, we must prepare a few ingredients. You can cook mango ginger and garlic pickle using 8 ingredients and 8 steps. Here is how you cook it.
The ingredients needed to make Mango Ginger and Garlic pickle:
- Make ready 1 cup peeled and chopped raw mangoes
- Make ready 1 cup peeled and grated mango
- Get 3/4 cup ginger cubes
- Get 1/2 cup garlic cloves
- Prepare 1 1/2 cup methi (fenugreek)masala for achar
- Take to taste Salt (only if required)
- Get 3 tsp Kashmiri red Chilli powder (only if required)
- Take 300-500 ml oil
Instructions to make Mango Ginger and Garlic pickle:
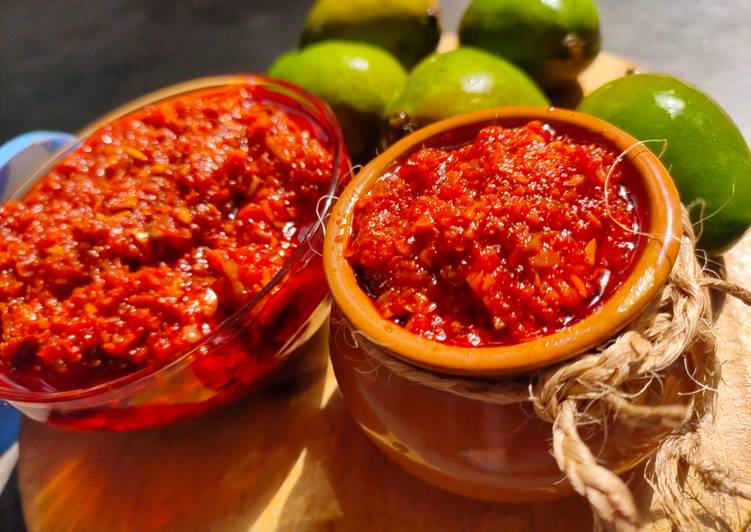
- Make coarse paste of garlic. You may also leave some cloves aside to add in the pickle. Take around 50 ml oil in a thick pan. Fry garlic paste in the oil on low flame till the raw smell of it disappears. Do the same process with ginger. Let them cool down completely.
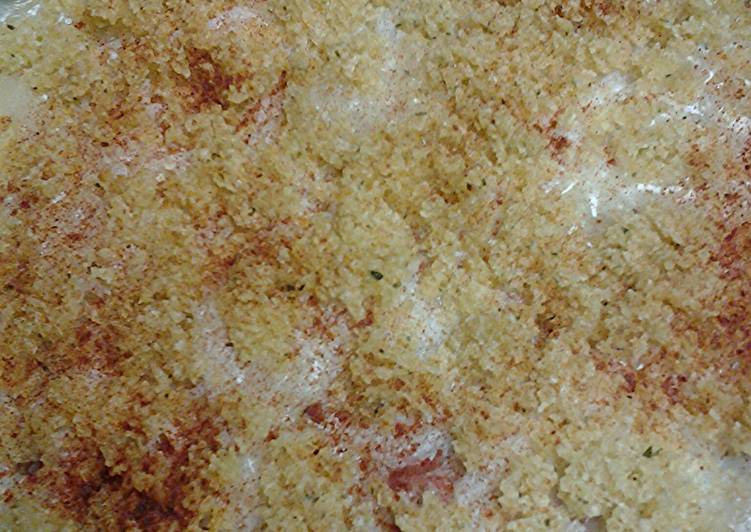
- Heat up the remaining oil till smoking point and then leave it aside to cool down completely. Once everything is cool down to room temperature, combine them all in a mixing bowl. Add chopped as well as grated mangoes and methi masala to it and combine well. If you want, you can take more amount of methi masala than mentioned above. Taste to see if you need to add chilli powder and salt. Add if needed.
- Add the oil that was heated and cooled to this achar. Cover and keep aside on the counter for 3 days. Stir twice a day..
- The spices and fenugreek will absorb oil and puff. Access Peelwill be released on the surface of achar. After 3 days, if you find not much oil in achar, you may heat up more oil and add once it cools down. Using more or less oil in achar is up to you. I prefer to add more oil as I use the oil from achar in handvo and muthiya for better flavour. Fill up oil in clean and stirrilized glass jar.
- Storing: In India, my mother in -law stores this achar on the counter and it lasts for 4-6 months. I store it in fridge as I leave in a country where the weather is totally different from India. So I do not take risk.
- Choice of a jar: use a glass jar with a plastic lid. If the lid is made of metal, cover it up with plastic or butter paper to avoid it's contact with achar. Always use the jar that is big enough to leave 1/4 space free for the methi seeds to puff. If the free space inside the bottle is not enough, sometimes the oil tends to overflow after a few days.
- Type of mango to use: Usually Rajapuri mango is used for achar in India. But in my country that mango is not available. So I use the one that grows in my yard. I use them while they are still small and their seeds are tender enough to remove easily.
- Type of achar masalo: there are different types of achar spice mix available in the market such as Punjabi achar mix, sweet achar mix, khatta achar mix, mustard based achar mix and so on. But to enjoy the authentic flavour of this achar, use fenugreek based achar masala that has only crushed fenugreek seeds, salt, chilli powder and asafoetida in it. Other ingredients like sauf and all do not go well with this type of achar. I always buy Ramdev or Shankar brand. Sometimes I make it at home.
So that is going to wrap it up with this exceptional food mango ginger and garlic pickle recipe. Thanks so much for your time. I’m confident you can make this at home. There’s gonna be more interesting food at home recipes coming up. Don’t forget to save this page in your browser, and share it to your family, colleague and friends. Thanks again for reading. Go on get cooking!